The short version
Every figure produced here is an estimate, not an official result. Each calculator applies a small conversion equation that maps a wrong-answer count or a percent correct onto a three-digit score, plus a matching pass-probability curve. We did not derive those equations. For each NBME and UWorld self-assessment we took the conversion that already circulates publicly, checked it line by line against the conversion table its source publishes, and reimplemented it here from one set of constants per form. We do not have access to the official scoring tables, we did not collect student reports, and we did not run a study of our own — so we make no claim of statistical significance. What we offer is a transparent, consistently applied approximation — and this page documents exactly how it works so you can judge it on its merits rather than take it on faith.
Where the numbers come from
The constants are not ours. Wrong-count-to-score correspondences for these self-assessments circulate publicly — in student forums, in shared spreadsheets, and in the conversion tables that other calculator sites publish openly on their own pages — and they trace back to students who sat a form, later saw an official readout, and posted the pair. None of it comes from the exam makers, and none of it was gathered by us. What this site did is narrower and worth stating exactly: we located the published conversion for every form we cover, recorded the source page for each one, re-generated the table from the stated equation and compared it row by row against the table the source publishes, and then stored a single set of constants per form that every calculator on the site reads. Nothing is pooled into one shared curve, because the forms genuinely differ: the same number of misses can map to noticeably different scores depending on which sitting you took. That is also why comparing two forms by raw wrong count is misleading, and why our converters put every result on the same three-digit scale before lining them up.
The three scoring models
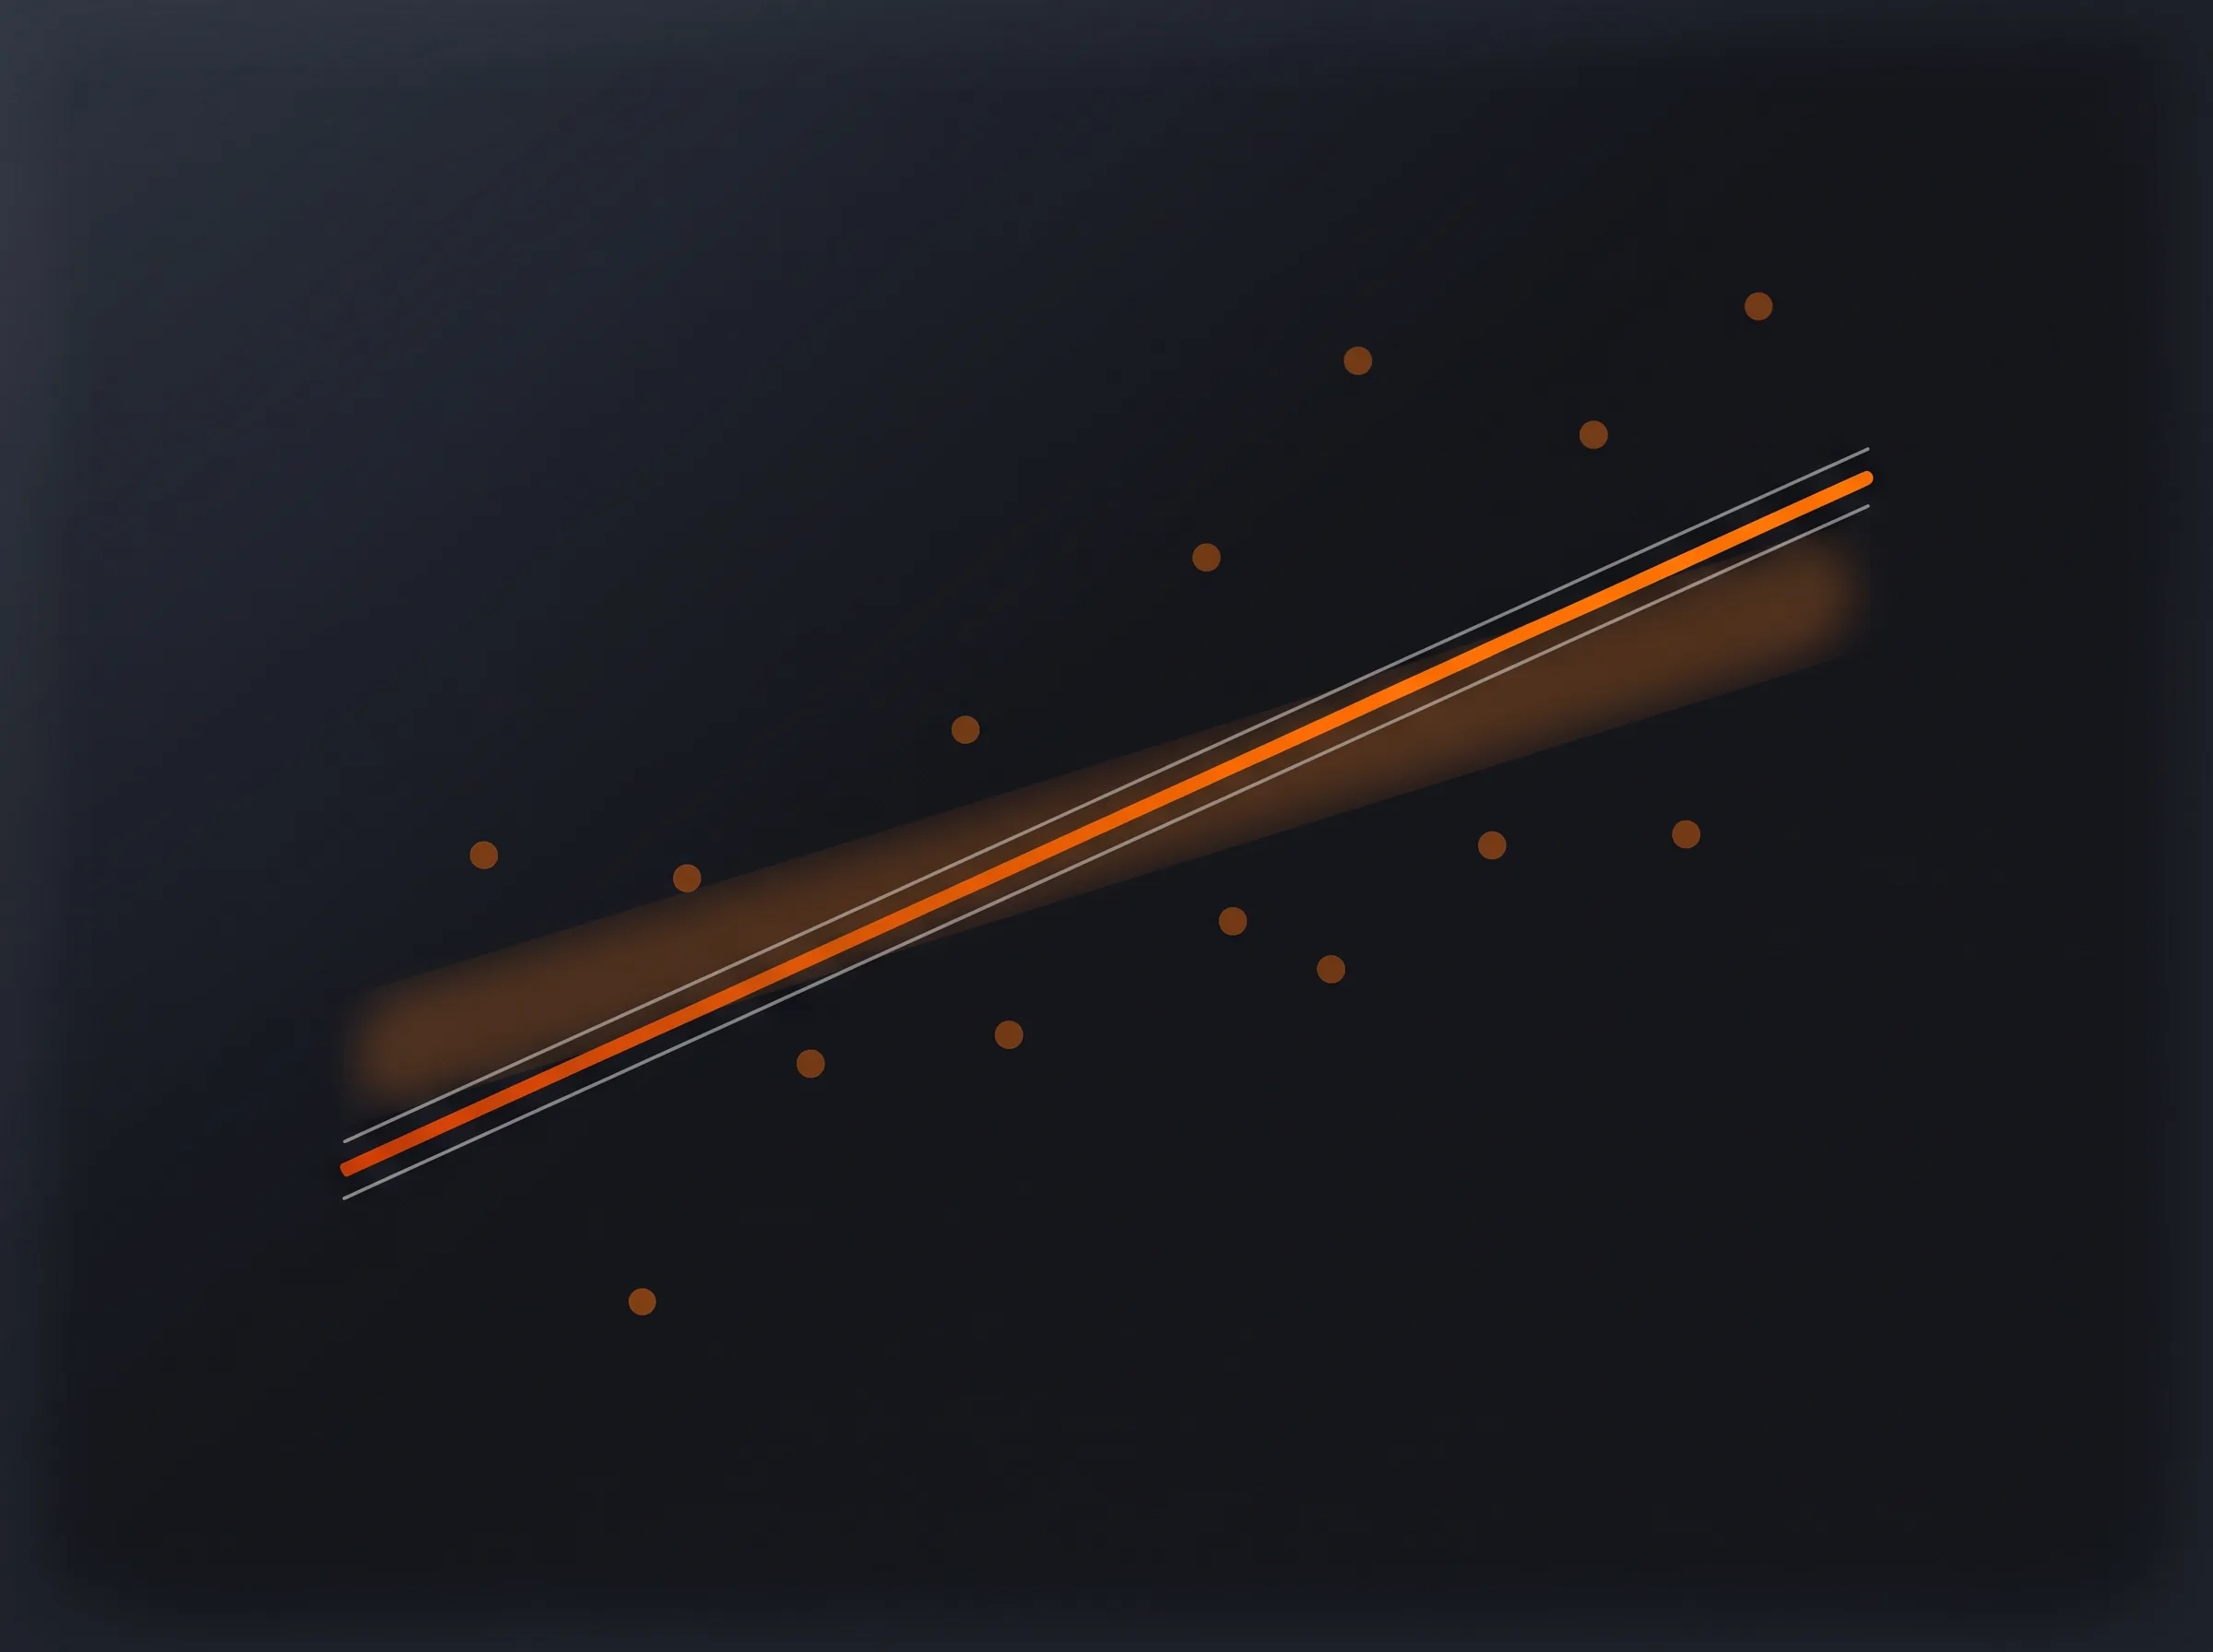
Behind the interface, each calculator uses one of three shapes. The most common is a straight line on the wrong-answer count: score = intercept − slope × wrong, where a high intercept sets the ceiling and the slope is what each additional miss costs. A second variant runs the same line on percent correct instead of raw misses, which suits shorter sets such as the Free 120 where percentage is the natural unit. The third is a piecewise curve through a series of anchor points: rather than one slope, it interpolates between fixed reference pairs and extrapolates along the nearest segment beyond them, which better captures forms whose curve bends in the middle of the range. The table below lists which model each calculator uses.
From score to pass probability
A raw score is only half the story, so we also translate it into an estimated chance of passing. Most calculators use a logistic curve centered on the passing region: scores comfortably above the line round toward near-certain passing, scores well below it toward near-certain not, and the steep middle sits exactly where a handful of questions genuinely change the outcome. The curve is clamped away from 0 and 100 percent because a single practice sitting cannot honestly resolve certainty at the extremes. Several of the older Step 2 CK forms use a stepwise table instead of a smooth curve — it holds a high plateau above the passing region and drops sharply through the borderline zone — which mirrors how quickly real risk changes right around the threshold.
Adjustments we apply
Some forms are widely reported to read consistently high or low against the real exam. Where the published data for a form describes that tendency, a calculator may shift its estimate to reflect it, show a realistic real-exam range alongside the point estimate, or display a confidence interval to convey how wide the uncertainty is. These corrections are average tendencies, not guarantees: they describe what happens across many students, and any individual can land nearer the raw estimate or further from it depending on fatigue, content sampling, and ordinary day-to-day variation. Each calculator page states plainly when an adjustment is in play and which direction it pushes the number.
What this can and cannot tell you
Be clear-eyed about the limits. The constants trace back to self-reported, community-sourced results, which carry selection and recall bias — people who report scores are not a random sample — and we inherit that bias whole. We can check that a published conversion is applied consistently and that its table reproduces; we cannot audit the reports underneath it, and neither can anyone outside the NBME. The amount of reporting behind each form is uneven, so some calculators rest on a firmer footing than others. A single self-assessment is one data point, and real-exam performance is shaped by many factors a practice form cannot capture, from test-day conditions to the specific content you happen to draw. For Step 1, which is now reported pass or fail, the three-digit figure is a study signal rather than a transcript number at all. Use these estimates to decide where to spend study time and to read the direction of travel across several sittings — not to make a single high-stakes decision from one number.
Keeping it current for 2026
The self-assessment lineup changes over time as new forms are released and older ones are retired. We re-check each form's constants against the sources they came from and add calculators for new forms when they appear, which is why pages are marked with the year they were last reviewed. If the conversion published for a form changes, the numbers here should change with it. If you spot a result that looks off against your own official readout, tell us — that feedback is how we catch a constant that has drifted out of date.